Flutter - Implicit animation - Fade-in text effect
Information drawn from
What are implicit animations?
With Flutter’s animation library, you can add motion and create visual effects for the widgets in your UI. One widget set in the library manages animations for you. These widgets are collectively referred to as implicit animations, or implicitly animated widgets, deriving their name from the ImplicitlyAnimatedWidget class that they implement. With implicit animations, you can animate a widget property by setting a target value; whenever that target value changes, the widget animates the property from the old value to the new one. In this way, implicit animations trade control for convenience—they manage animation effects so that you don’t have to.
Demo:
text-fading-effect-animation
Example: Fade-in text effect
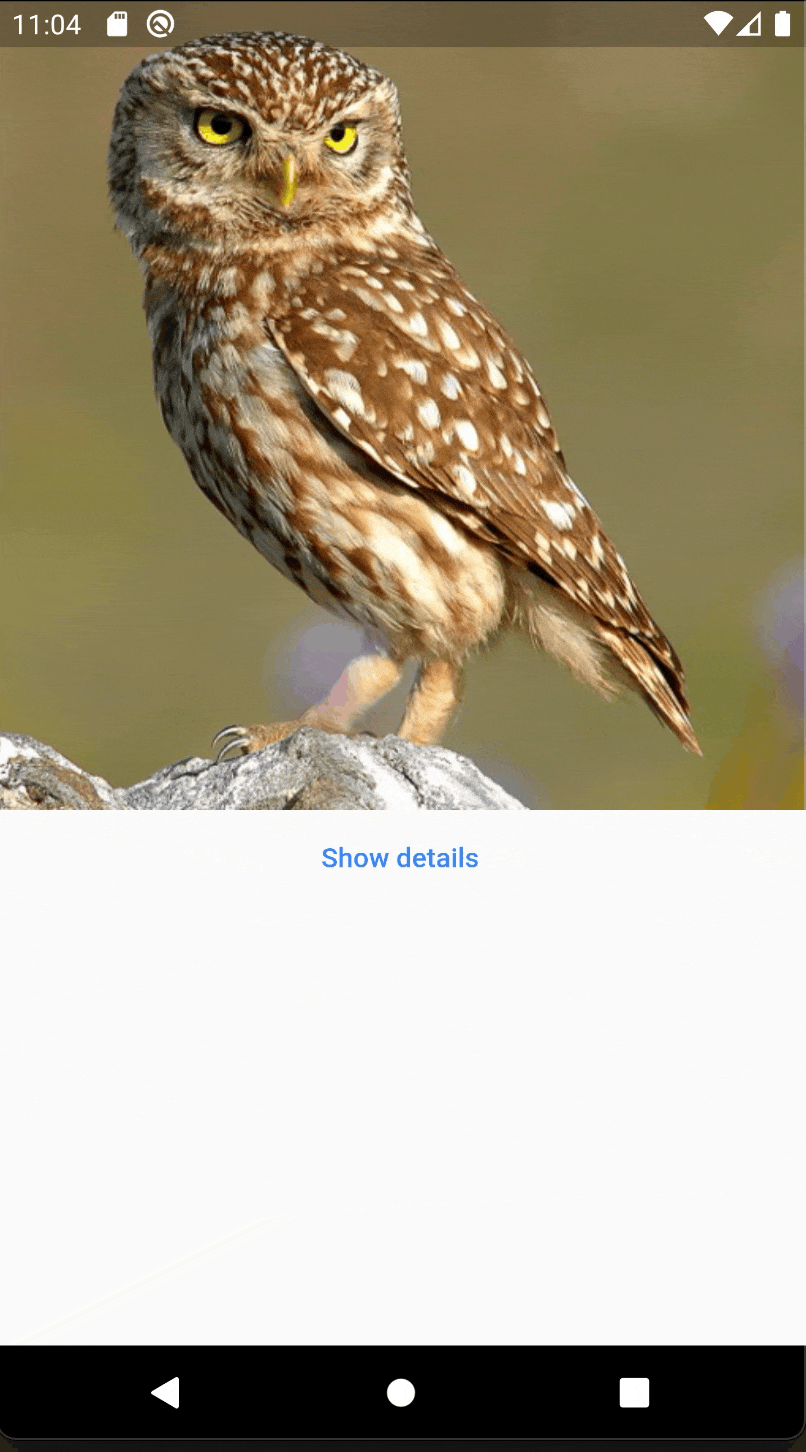
The following example shows how to add a fade-in effect to existing UI using an implicitly animated widget called AnimatedOpacity. The example begins with no animation code—it consists of a Material App home screen containing:
- A photograph of an owl.
- One Show details button that does nothing when clicked.
- Description text of the owl in the photograph.
Fade-in (starter code)
import 'package:flutter/material.dart';

const owl_url = 'https://raw.githubusercontent.com/flutter/website/master/src/images/owl.jpg';

class FadeInDemo extends StatefulWidget {
  _FadeInDemoState createState() => _FadeInDemoState();
}

class _FadeInDemoState extends State<FadeInDemo> {
  @override
  Widget build(BuildContext context) {
    return Column(children: <Widget>[
      Image.network(owl_url),
      TextButton(
        child: Text(
          'Show details',
          style: TextStyle(color: Colors.blueAccent),
        ),
        onPressed: () => null,
      ),
      Container(
        child: Column(
          children: <Widget>[
            Text('Type: Owl'),
            Text('Age: 39'),
            Text('Employment: None'),
          ],
        ),
      )
    ]);
  }
}

class MyApp extends StatelessWidget {
  @override
  Widget build(BuildContext context) {
    return MaterialApp(
      debugShowCheckedModeBanner: false,
      home: Scaffold(
        body: Center(
          child: FadeInDemo(),
        ),
      ),
    );
  }
}

void main() {
  runApp(
    MyApp(),
  );
}
Animate opacity with AnimatedOpacity widget
This section contains a list of steps you can use to add an implicit animation to the fade-in starter code. After the steps, you can also run the fade-in complete code with the the changes already made. The steps outline how to use the AnimatedOpacity widget to add the following animation feature:
- The owl’s description text remains hidden until the user clicks the Show details button.
- When the user clicks the Show details button, the owl’s description text fades in.
1. 1. Pick a widget property to animate
To create a fade-in effect, you can animate the opacity property using the AnimatedOpacity widget. Change the Container widget to an AnimatedOpacity widget:
{opacity1 → opacity2}/lib/main.dart
22	  // Use of this source code is governed by a BSD-style license
33	  // that can be found in the LICENSE file.
4	+ // ignore_for_file: missing_required_argument
5	+
46	  import 'package:flutter/material.dart';
57	  const owlUrl =
@@ -25,12 +27,14 @@
2527	              style: TextStyle(color: Colors.blueAccent),
2628	            ),
2729	            onPressed: () => {}),
28	-       Column(
29	-         children: const [
30	-           Text('Type: Owl'),
31	-           Text('Age: 39'),
32	-           Text('Employment: None'),
33	-         ],
30	+       AnimatedOpacity(
31	+         child: Column(
32	+           children: const [
33	+             Text('Type: Owl'),
34	+             Text('Age: 39'),
35	+             Text('Employment: None'),
36	+           ],
37	+         ),
3438	        )
3539	      ]);
3640	    }
You can reference the line numbers in the example code to help track where to make these changes.
2. Initialize a state variable for the animated property
To hide the text before the user clicks Show details, set the starting value for opacity to zero:
{opacity2 → opacity3}/lib/main.dart
22	  // Use of this source code is governed by a BSD-style license
33	  // that can be found in the LICENSE file.
4	- // ignore_for_file: missing_required_argument
5	-
64	  import 'package:flutter/material.dart';
75	  const owlUrl =
@@ -17,6 +15,8 @@
1715	  }
1816	  class _FadeInDemoState extends State<FadeInDemo> {
17	+   double opacity = 0.0;
18	+
1919	    @override
2020	    Widget build(BuildContext context) {
2121	      return Column(children: <Widget>[
@@ -28,6 +28,8 @@
2828	            ),
2929	            onPressed: () => {}),
3030	        AnimatedOpacity(
31	+         duration: const Duration(seconds: 3),
32	+         opacity: opacity,
3133	          child: Column(
3234	            children: const [
3335	              Text('Type: Owl'),
3. Set up a trigger for the animation, and choose an end value
Configure the animation to trigger when the user clicks the Show details button. To do this, change opacity state using the onPressed() handler for TextlButton. To make the FadeInDemo widget become fully visible when the user clicks the Show details button, use the onPressed() handler to set opacity to 1:
{opacity4 → opacity5}/lib/main.dart
2222	      return Column(children: <Widget>[
2323	        Image.network(owlUrl),
2424	        TextButton(
25	-           child: const Text(
26	-             'Show Details',
27	-             style: TextStyle(color: Colors.blueAccent),
28	-           ),
29	-           onPressed: () => {}),
25	+         child: const Text(
26	+           'Show Details',
27	+           style: TextStyle(color: Colors.blueAccent),
28	+         ),
29	+         onPressed: () => setState(() {
30	+           opacity = 1;
31	+         }),
32	+       ),
3033	        AnimatedOpacity(
3134	          duration: const Duration(seconds: 2),
3235	          opacity: opacity,
Notice that you only need to set the start and end values of opacity. The AnimatedOpacity widget manages everything in between.
4. Set the duration of the animation
In addition to an opacity parameter, AnimatedOpacity requires a duration to use for its animation. For this example, you can start with 2 seconds:
{opacity3 → opacity4}/lib/main.dart
2828	            ),
2929	            onPressed: () => {}),
3030	        AnimatedOpacity(
31	-         duration: const Duration(seconds: 3),
31	+         duration: const Duration(seconds: 2),
3232	          opacity: opacity,
3333	          child: Column(
3434	            children: const [
Putting it all together
The Fade-in text effect example demonstrates the following features of AnimatedOpacity:
- AnimatedOpacity listens for state changes in its opacity property.
- Whenever opacity changes, AnimatedOpacity automatically animates the widget’s transition to the new value for opacity.
- AnimatedOpacity requires a duration parameter to define the time it takes to animate the transition between an old opacity value and a new one.
Note that Implicit animations can only animate properties of a parent StatefulWidget, so this example begins with the FadeInDemo widget that extends StatefulWidget.
Notice also that AnimatedOpacity animates a single property: opacity. Some implicitly animated widgets can animate many properties, as the following example illustrates.
------------------------------------------------------------------------
Last update on 30 Jan 2022
---